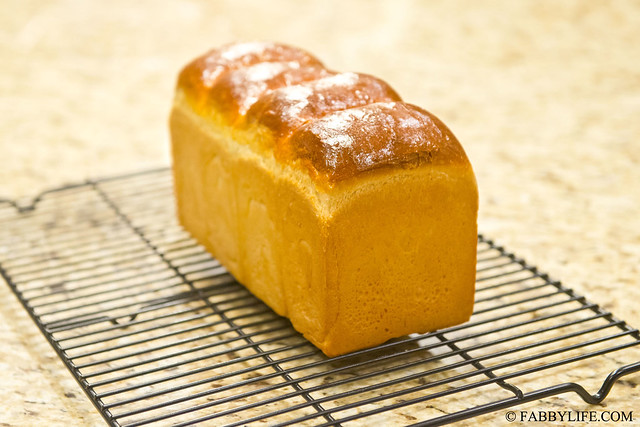
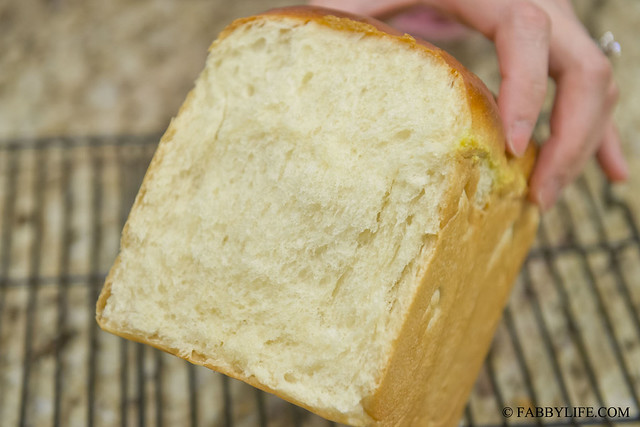
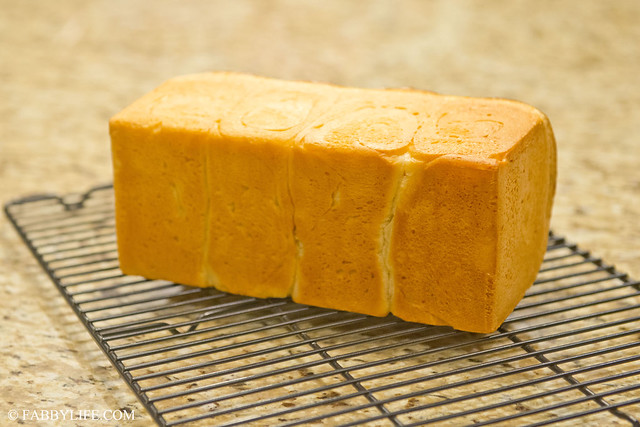
Hokkaido Milk Bread (北海道土司)- for dummies (revised version, more fluffy)
 |
 |
| Still soft after sitting in the fridge for 3 days - I add rain sometime |
 |
To make the long story short:1. I used square loaf pan (9'' by 4'' by 4'', which is deeper than the one I used before); 2. I decreased (only 56% of the original) the amount the ingredients to make one bread; 3. I increased the corresponding amount of egg; 4. I added unsalted butter to the ingredients; 5. I slightly lowered the baking temperature.
Tools
Food scale - here
Ingredients (square loaf pan 9'' by 4'' by 4'' without the lid on- you may need a slightly different baking time or even temperature if you use a different pan - let us say shape and/or material)
bread flour 252g (高筋面粉)
cake flour 28g (低筋面粉)
dry active yeast 5g
dry milk powder 14g (you can find it in the baking section)
sugar 38g
salt 4g
large egg * 2/3 (and the rest 1/3 for egg wash)
milk 116g
heavy whipping cream 70g
unsalted butter (room temperature) 1 tbsp
unsalted butter (room temperature) 1 tbsp
Steps
1. Add all of the ingredients (except yeast) in the pan of the bread maker, and add dry active yeast in the yeast dispenser. If your bread maker doesn't have a yeast dispenser, you need avoid the direct contact between yeast and sugar / salt.
2. Use the 'dough' function to knead and rise (about 60 minutes). The dough should be smooth and not too sticky.
3. Take the dough out from the pan. The dough should be stretchable. You should also easily pinch a hole in the dough.
 |
| Picture 3: at the step 3, the dough should like this... |
4. Divide dough into 4 equal portions and shape each into a ball. Let these balls rest for 20minutes with wet kitchen towel covered. Flatten the ball and roll out in a rectangle shape. Fold the rectangular into thirds at its long dimension. Flatten again and roll it up tightly like swiss roll. If your dough is sticky, grease your hand and work surface with butter. Don't add in too much flour. More flour will make your bread heavier and less fluffy.
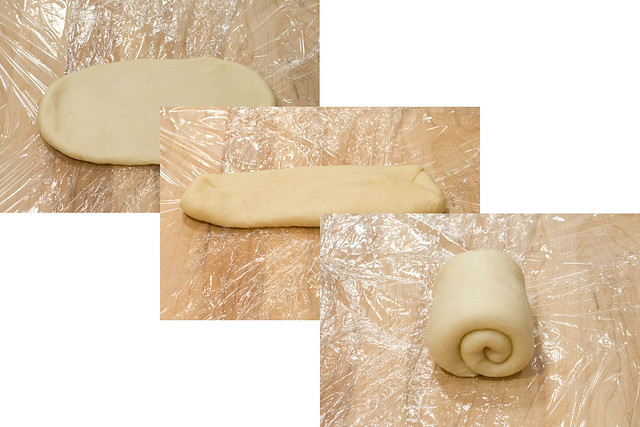 |
| Picture 4: for step 4 |
5. Lining the bottom of the pan with parchment paper and grease the wall of the pan. Put the roll in the pan. Repeat with the second ball. Put 4 balls into a bread pan - as Picture 5(1).
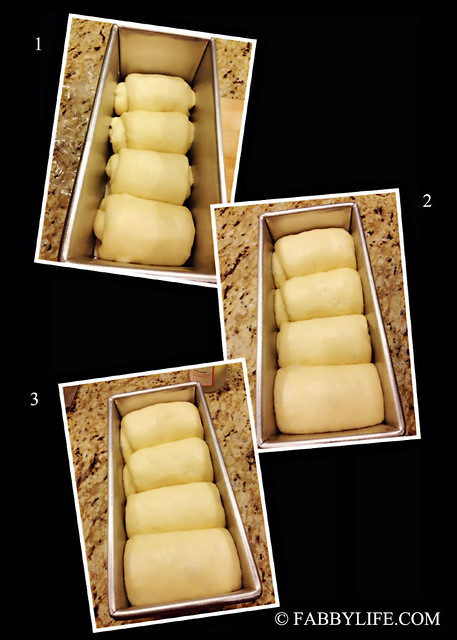 |
| picture 5 (step 5, 6) |
6. Put the pan in the oven with the light on, and a bowl of hot water next to the pan. You need to keep the dough moist and you want the temperature for this step between 90-100F. If the temperature is not high enough, turn on the oven for half minute then shut it down. Let rise for 60-75 minutes or until the dough fills up 75%-85% of the pan (as shown in picture 5(2) -60min, and picture 5(3)- 75 min). Meanwhile preheat oven to 340F.
 |
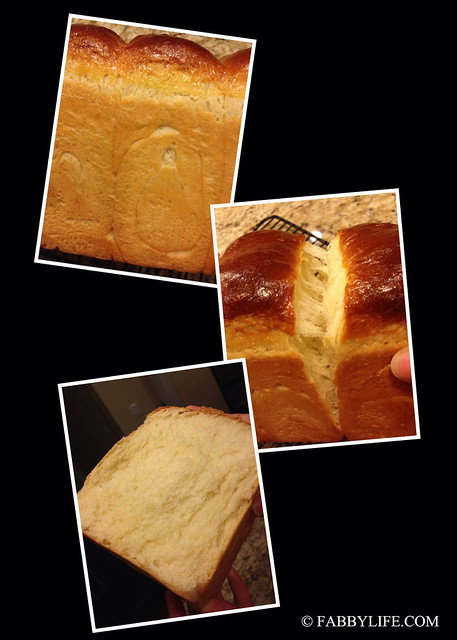
8. Remove from the pan immediately, and cool completely on a cookie rack (at least 1 hour).
 |
 |
 |
Thank you for reading!
will try this tomorrow. Thanks for sharing!
ReplyDeletelet me know whether you like it!
Delete谢谢方子,试了一下,很好。就是没你的好看。你的模子是不是比一般都深一点?
ReplyDelete我用了土司模子,比较深,9‘’ * 4‘’ * 4‘’。 侧面是正方形 比较好看。
Delete