Nest Learning Thermostat - 2nd Generation – Installation Guide and Benefit
Nest Learning Thermostat - 2nd Generation T200577 –
Installation Guide and Benefit
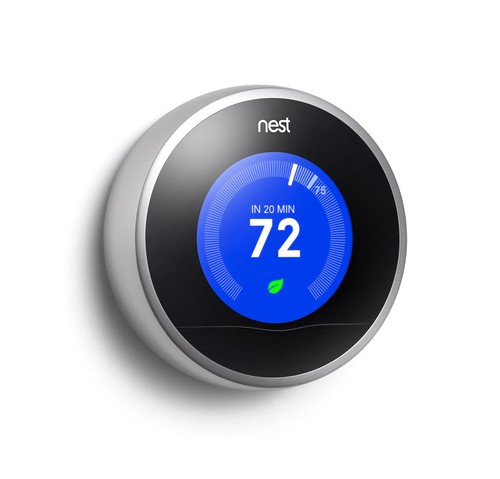
We recently changed our traditional thermostat to the Nest Learning Thermostat, 2nd generation. It is a little too soon for us to identify the energy saving. However, we can evidently see some potential benefits. This article will present an installation guide in addition to the Nest’s own guide, plus a brief analysis of the benefit of this thermostat compared to the “traditional” version.
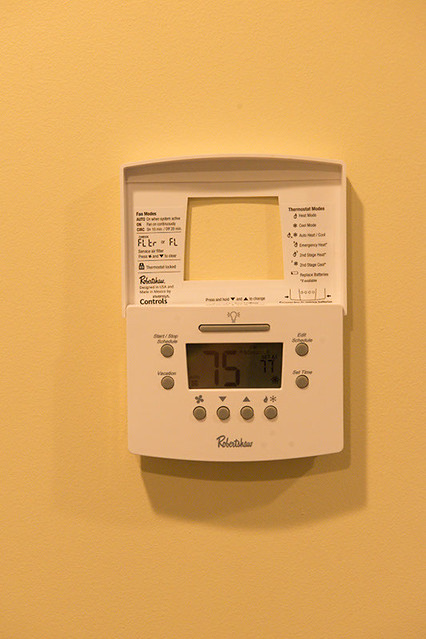
The installation procedure will come at first. Our previous thermostat is a pretty nice, 5+2 version, which means we can control from Monday to Friday in a preset program, and weekends in another. You can see the photo below for that thermostat.
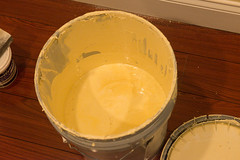
The installation includes removing the old thermostat, patching and painting wall, connecting the Nest thermostat, and start-up. The tools needed include: 1. Screwdriver; 2. Piler; 3. Wall joint compound and putty knife (see photo below); 4. Paint (see photo); 5. Drywall sander (see photo).

The first step is to shut down the power to the heating and cooling units the thermostat controls. Then we can remove the old thermostat without damaging anything. Carefully remove the top panel, one can see bottom panel with two screws fasten to wall (see photo).
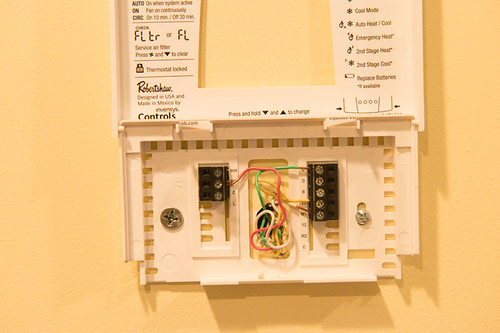
Before removing the back panel, mark every wire using the label attached in the Nest installation guide.
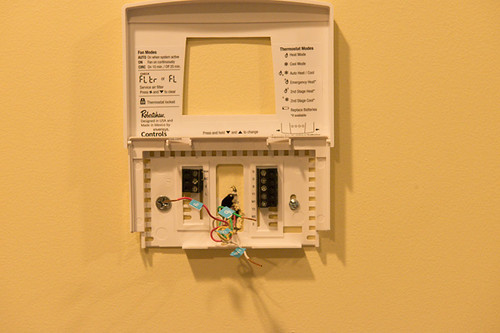
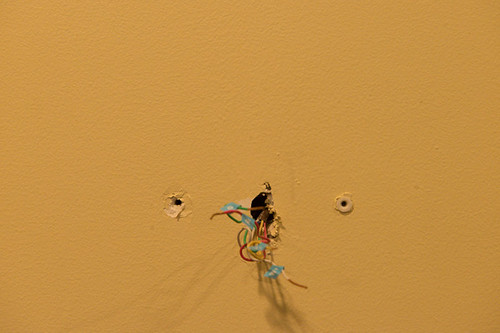
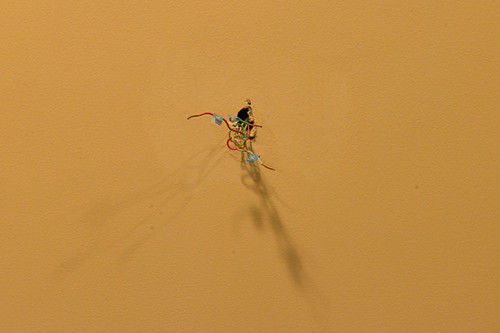
Remove the screws and back panel, we saw screw plugs. Use piler to carefully remove the plug(s). Now what is left is the wires and two holes on wall.

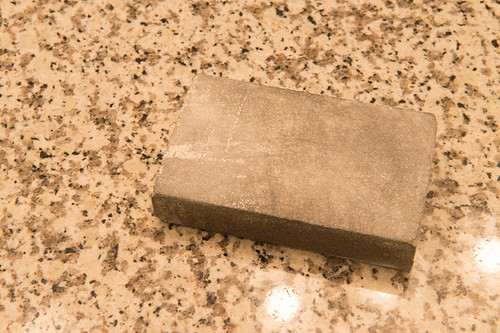
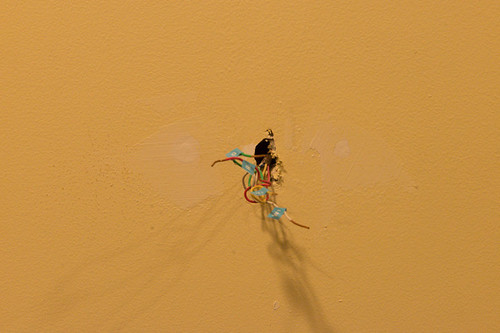
Use wall joint compound and a putty knife to patch the holes. Wait till it dries up, and use a drywall sander to flatten the wall.

After we can apply the paint, the wall looks new and shine. By the way, if you don't know the color of your wall, you may need take some time to figure out which color paint is needed.
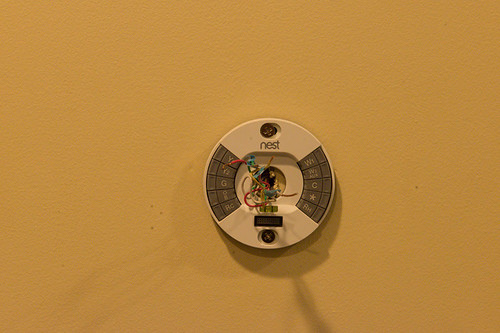
Install the Nest back panel, connect each wire to its corresponding socket. After this, place the Nest front panel.

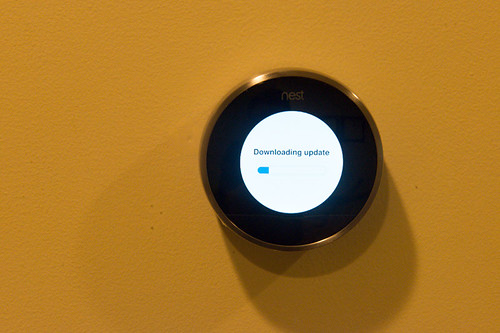
Switch on the power to the heating/cooling units. Now the thermostat will boot up. Simply follow the guide and set up the thermostat. It will check the software update and reboot couple times.
This concludes the installation procedure.
One of the reasons we get this fancy thermostat is the old one used for the main floor begins to malfunction sometime. However, for this new unit, besides the cool looking, is there any additional benefit?
To answer this, let's see how it works.
We like to keep the house temperature comfortable. Previously, the thermostat is set to adjust the temperature so it reaches the desirable value during the "typical" time. The downside is that the temperature will be adjusted regardless of whether anyone is home since the program is previously set. The Nest thermostat, as a wireless unit, can be accessed from any smartphone. When we need to stay late outside, we could just set it to "away" and don't worry the AC unit works to cool a empty house. The Nest thermostat claims it can automatically detect whether any is home and set "away". But we haven't used it long enough to see how well it works.
Another dramatic difference from the old controller is since the unit runs on a computer (I guess through the connection to Nest's server by wireless). It can be pretty smart when running the HVAC. For example, it can automatically run the air conditioning for a period of time, then switch AC off, but keep fans on to distribute the cool air to the house. This function, although can be applied in the traditional thermostat, requires significant human interaction.
Nest opens API for whoever interested in the participation of programming and improving the functionality of this thermostat. I think there are much more potential with this technology. For example, the controller could retrieve the local weather condition and adjust its program. Or, it can communicate with other home automation system (say a motion sensor of home security system) and increase control algorithm. While it is natural to see the technology progresses with the advance of computing technology, it is amazing to see how much we can achieve with the integration of technologies.
One last note before we end is that there is a rebate of $100 off each wireless thermostat. Please check out the photo below and you can find out whether you are eligible for it. We bought our Nest from Amazon. They periodically reduce the price. Be patient and you may purchase it for around $200. If $100 rebate is honored, the final cost of one Nest is around $100, which is a pretty sweet deal.
Thanks for reading, we will post back the results after using it for a few months.

Comments
Post a Comment